
When it’s that time of year, paint your pumpkin right.
Key to painting a pumpkin that will last longer and withstand the weather better is to first, seal the pumpkin before painting, and second, add a top coat after painting.
But first . . . let’s take this step by step.
Step 1: Pick a great pumpkin.
TIP: All pumpkins are great for painting, but the following varieties are especially popular for crafters painting pumpkins for table and porch display: sugar pie, baby pam, neon, cotton candy, and lumina.
Step 2: Clean and dry your pumpkin, removing any dirt or debris. Damp paper towel, baby wipe, whatever. Just be gentle when cleaning so you don’t bruise or blemish the skin.
TIP: Take care to not leave wet the location where the stem meets the pumpkin or you might accelerate rot.
Step 3: Choose your design, plan, strategize.
Step 4: Collect all materials, working on a surface that’s protected (newspaper works great).
Step 5: Seal your pumpkin.
TIP: Using a craft-grade sealer is recommended. Some popular options for sealing:
- Sealers you spray on.
- Sealers you apply with a brush.
Popular manufacturers: Liquitex Professional Gloss Varnish, Krylon Clear Sealer, Modge Podge
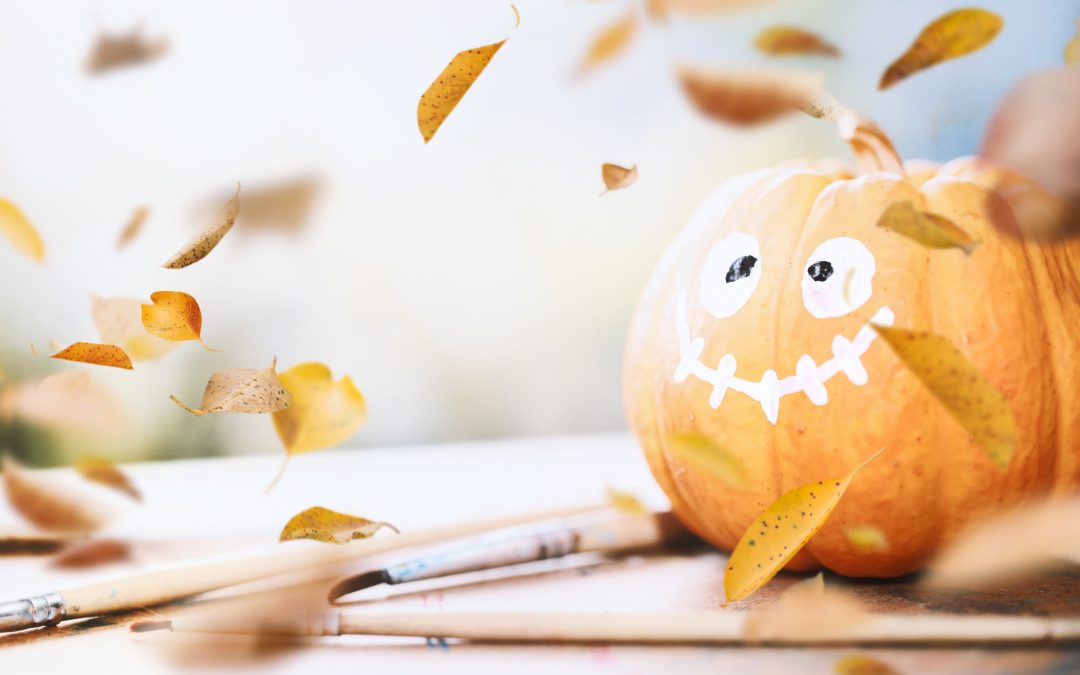
Step 6: Paint your pumpkin.
TIP: Acrylic paints work best for this project, assuming you are sealing before and after painting. If you plan to use glitter, apply the glitter after the paint and before the sealer.
Step 7: Once the paint dries, seal your pumpkin again.
Step 8: Add any additional embellishments.
TIP: Popular options: tied ribbons or raffia, googly eyes, pom-poms, and similar.
Enjoy!